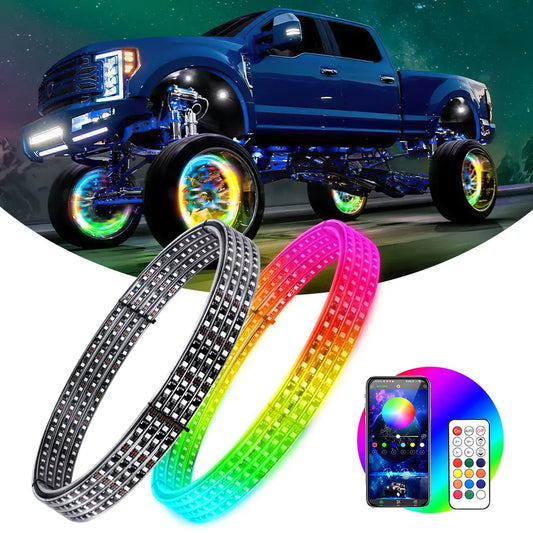
This installation blog will walk you through the process of installing an LOYO million color wheel ring lighting kit to your truck. Professional installation of this lighting kit is highly recommended.
Prior to purchasing your kit, measure the diameter of the front and rear rotors, break calibers and wheels to verify the correct size wheel rings needed for your truck. Before installing, we recommend testing your kit for full functionality using a 12V power source.
1 - Before starting installation
Mock up the wheel ring and check for clearance. Starting with one of the vehicles front wheels, remove the brake caliber and rotor, then loosely place the brake caliber back onto the hub.
2 - Installing the brackets.
Remove the brake caliper and rotor, and place the caliper back on the hub. Then move any brackets necessary for mounting. Mock up the bracket locations for the wheel ring, each wheeling has ten threaded holes, so the brackets can be moved to fit your specific application. For safety, we recommend a minimum of four brackets be used when mounting each wheel ring.
Once the ring has been mocked up on the hub, measure and Mark the location of the mounting brackets,
3 - Drill a hole at each marked location
using a small bit, drill a hole in the backing plate at the marked locations.
4 - Ensure that all brackets line up correctly
Additional slip on brackets have been included in your wheeling kit to ensure the proper number of brackets is used to securely fasten the wheeling to the hub.
5 - Install the wheel ring to back of the backing plate
Once the holes have been drilled, use the included nuts and bolts to secure the brackets to the back of the dust plate. Verify the mounting screws will not contact the rotor once installed. If there is not enough clearance for the included screws, aluminum rivets can be used to mount the brackets, reinstall the rotor and break caliper to the hub. Run the wire along the brake line of the track, securing it away from any moving parts. Reinstall the wheel.
6 - Moving to the rear wheel
Remove the wheel from the vehicle, mock up the bracket locations for the wheeling. Again, move or remove any brackets necessary to safely attach the wheeling to the backing plate, place the wheeling onto the hub. For this specific vehicle, there is enough clearance for us to safely drill and attach the wheeling brackets without having to remove the brake caliber and rotor. Using a small drill bit, drill a hole in, the backing plate at each bracket location.
Use the included nuts and bolts to secure the brackets to the back of the dust plate. Verify that the mounting screws will not contact the rotor once installed. If there is not enough clearance for the included screws, aluminum rivets can be used to mount the brackets.
Here are some information about wiring
Once you got the wheel lights, what you'll notice is each one of the wheel lights will come base with a plug, and each wheel light will be basing marked as left and right, and the only reason for that is so that way you can match it up when you wire up the Bluetooth controller so that way your blinker function is in sync. So that way, your left is your left and your right as your right which is passenger and driver side.
One other thing that you have to notice and pay attention to on the wheel light itself is basically the direction that the wheel light points to. If you notice there's gonna be basically these little arrows right here and this arrow basically what it's telling you is is the functions on this wheel light will basically be rotating this way.
Let's go ahead and talk about the Bluetooth controller
It has two outputs here that split into two which basically are for the wheel lights themselves and you'll see that this marked with the right and left side, so that way you'll match each wheel light with the right and left side, when you do turn on your signal light essentially you'll have both right sides blink with your turn signals and so on the same thing for the left side as well.
This side is fairly simple and easy now let's go ahead and move on to the opposite side.
We do have actually a little sticker on the opposite side the smart telling you exactly each wire and what it's for but we'll go through that anyways.
There are five different wires. The red and black these are the power wires and a ground wire, this is gonna give power to the booster controller to allow you to engage the color multi-color functions and the chasing functions.
The other three wires, you're gonna have the blue one which is a power wire will allow you to tap into your brake lights and every time you're gonna apply the brake it's gonna allow basically all four wheel lights to go ahead and basically turn red, and that will be a function that will happen no matter if you have the chasing functions and the multi-color functions in operation or not. The two other wires here which is the green and yellow are for the turn signals, the yellow one is turn signal rights, and the green one is turn signal left.
If you install your wheeling kit differently or have any installation tips, please let us know in the comments section below, we would love to hear them.


