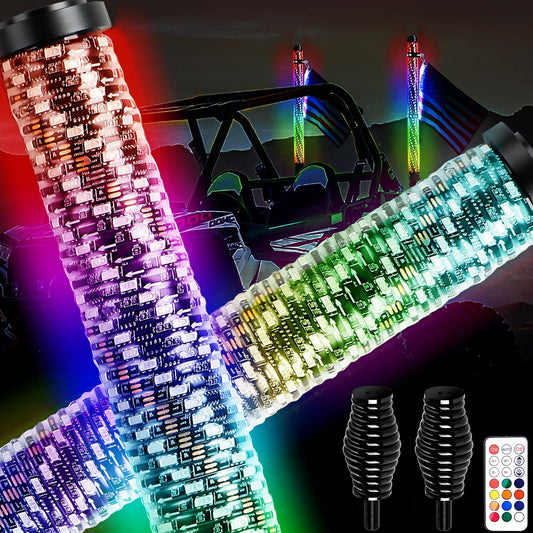
Off-road lighting is a game-changer for night trails, overland adventures, or even rural driving. But installing auxiliary lights can feel daunting if you're new to DIY automotive projects. Don't worry—we've got you covered! In this guide, we'll walk you through wiring the LOYO 4-Inch 90W Apex Series LED Pod Driving Lights using the DT Wire harness, a plug-and-play kit that simplifies the process. Let's light up your path like a pro!
Why Choose LOYO 4-Inch Apex Series LED Pods?
Before diving into installation, let's talk about why these lights are worth the effort:

- 90W High Output: Delivering 9,000 raw lumens per pod, they cut through darkness with military-grade clarity.
- Durable Construction: IP67 waterproof rating, die-cast aluminum housing, and impact-resistant polycarbonate lenses—built for extreme conditions.
- Optimized Beam Patterns: Choose from low beam and high beam to match your terrain needs.
- Innovation Designed Indicator Light: The amber warning light enhance the lighting atmosphere and can synchronize with the headlights or marker lights to function as turn signals, providing added safety
- Come with 3 Pin DT Wire harness: Designed to pair seamlessly with aftermarket harnesses for fuss-free wiring.

Tools & Materials You'll Need
- LOYO 4-Inch 90W Apex LED Pods (pair)
- DT Wire harness Kit (includes relay, fuse, switch, connectors, and pre-terminated wires)
- Basic tools: Screwdrivers, wrenches, wire strippers, electrical tape
- Drill & mounting brackets (if not using existing mounts)
- Zip ties, heat shrink tubing (optional for cleaner routing)
- Circuit tester (recommended for safety checks)
Step 1: Plan Your Light Placement
Location Matters:
- Bumper Mounts: Ideal for balanced illumination and protection.
- Grille or Roof: Maximizes distance visibility (check local height regulations).
- A-Pillar Brackets: Popular for Jeeps and trucks; ensures wide peripheral coverage.
- Pro Tip: Test-fit the pods before drilling. Ensure they don't block airflow, sensors, or license plates.
Step 2: Mount the LOYO LED Pods
Prep the Area: Clean the mounting surface to avoid vibrations.
Secure Brackets: Use stainless steel bolts to attach brackets to your chosen location. Avoid overtightening.
Attach Pods: Fix the LOYO lights to the brackets using the included hardware. Aim them slightly downward initially—you'll fine-tune the angle later.
Step 3: Install the DT Wire harness
The DT Wire harness takes the guesswork out of wiring. Here's how to connect it:
A. Connect the Relay & Fuse
Locate the Battery: Disconnect the negative terminal for safety.
Attach Power Wire: Connect the harness's red wire (with inline fuse) to the battery's positive terminal.Connect the harness's black wire to the battery's positive terminal.
Ground the System: Bolt the relay to a clean, unpainted metal surface on the chassis.
B. Route the Wiring
Avoid Heat Sources: Keep wires away from exhausts, engines, or sharp edges. Use loom tubing or zip ties for protection.
Pass Through Firewall: Feed the switch wire into the cabin through an existing grommet. Seal gaps with silicone to prevent moisture.
C. Install the Switch
Choose a Switch Location: Dashboard, center console, or A-pillar for easy access.
Mount the Switch: Drill a hole (if needed), secure the DT switch, and connect its wires to the harness.
Step 4: Wire the LOYO Lights to the Harness
Connect Pods to DT Harness: Plug the LOYO lights' DT connector into the DT harness's pre-terminated connectors.
Polarity Check: Ensure red-to-red (positive) and black-to-black (negative). Reverse polarity can damage LEDs!
Secure Connections: Wrap joints with electrical tape or heat shrink tubing.
Step 5: Test & Adjust
Reconnect the Battery: Double-check all connections first.
Power On: Flip the DT switch—the LOYO pods should light up instantly.
Adjust Aim: Park 25 feet from a wall and align beams to avoid blinding traffic. Tighten bolts once aligned.
Troubleshooting Tips
No Power? Check fuse, ground connection, and battery terminals.
Flickering Lights? Inspect for loose wires or poor grounding.
Switch Not Working? Verify cabin wire routing isn't pinched.
Why the DT Wireharness Makes a Difference
The DT Wireharness is purpose-built to simplify installations for LOYO’s rugged 90W LED pods. With pre-terminated connectors, labeled wires, and a relay/fuse system, you’ll spend less time fiddling with circuits and more time enjoying 9,000 lumens of trail-blazing light.
- Plug-and-Play Design: Pre-assembled connectors eliminate splicing.
- Smart Protection: Waterproof relay and 30A fuse prevent overloads.
- OEM Integration: Compatible with most vehicles and auxiliary lights.
Safety & Legal Reminders
- Check Local Laws: Some states restrict off-road light use on public roads.
- Use Responsibly: Avoid blinding other drivers—switch off pods in traffic.
- Weatherproof Exposed Wires: Apply dielectric grease to connectors.
Conclusion
Wiring the LOYO 4-Inch 90W Apex LED Pods with the DT Wireharness is a weekend project that pays off with pro-level results. Whether you're navigating rocky trails or prepping for a night camping trip, these lights will transform your visibility—and your confidence.
Ready to conquer the dark? Grab your LOYO lights and let the adventure begin!


